To install Let's Encrypt SSL on AlmaLinux 9 with Nginx, follow these steps:
Step 1 : Ensure Your Domain is Set Up
Make sure your domain is properly pointed to your server's IP address so that Let's Encrypt can verify it.
Step 2 : Update Your System
Run the following command to update your system packages:

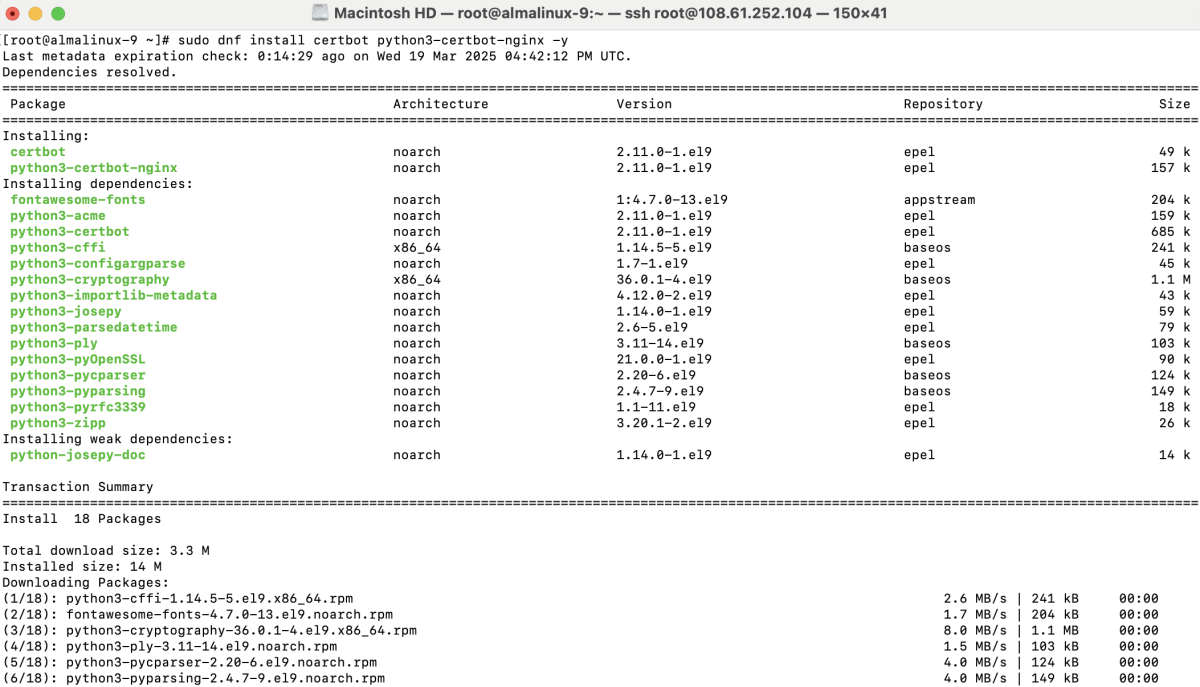
Step 3 : Install Certbot and the Nginx Plugin
Install Certbot and the necessary Nginx plugin:
Step 4 : Create and Configure Nginx Virtual Host
Create a new Nginx configuration file for your domain:
Add the following content:
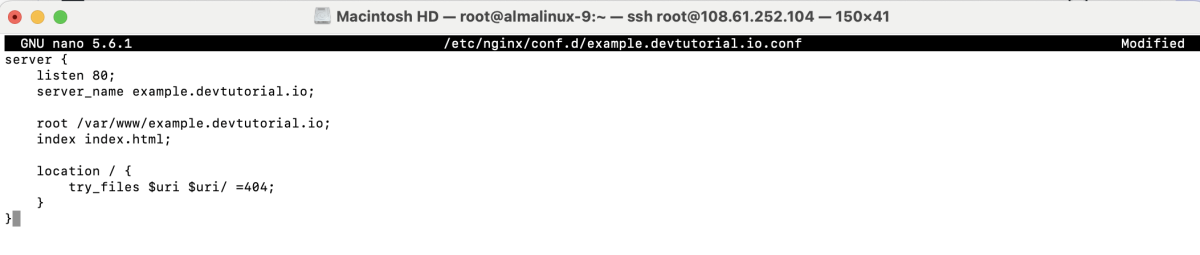
Save the file and exit.
Step 5 : Create the Website Directory and an Index File

Set the correct ownership:

Step 6 : Configure SELinux (If Enabled)
If SELinux is enabled, run:

Step 7 : Test Nginx Configuration
Run the following command to check for syntax errors:

If everything is fine, you should see syntax is ok and test is successful.
Step 8 : Restart Nginx
Apply the changes by restarting Nginx:

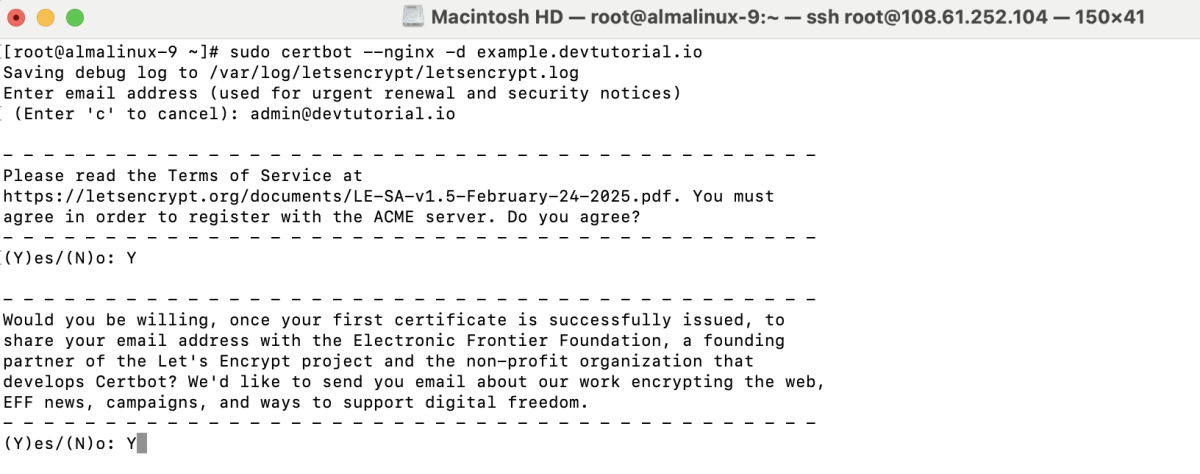
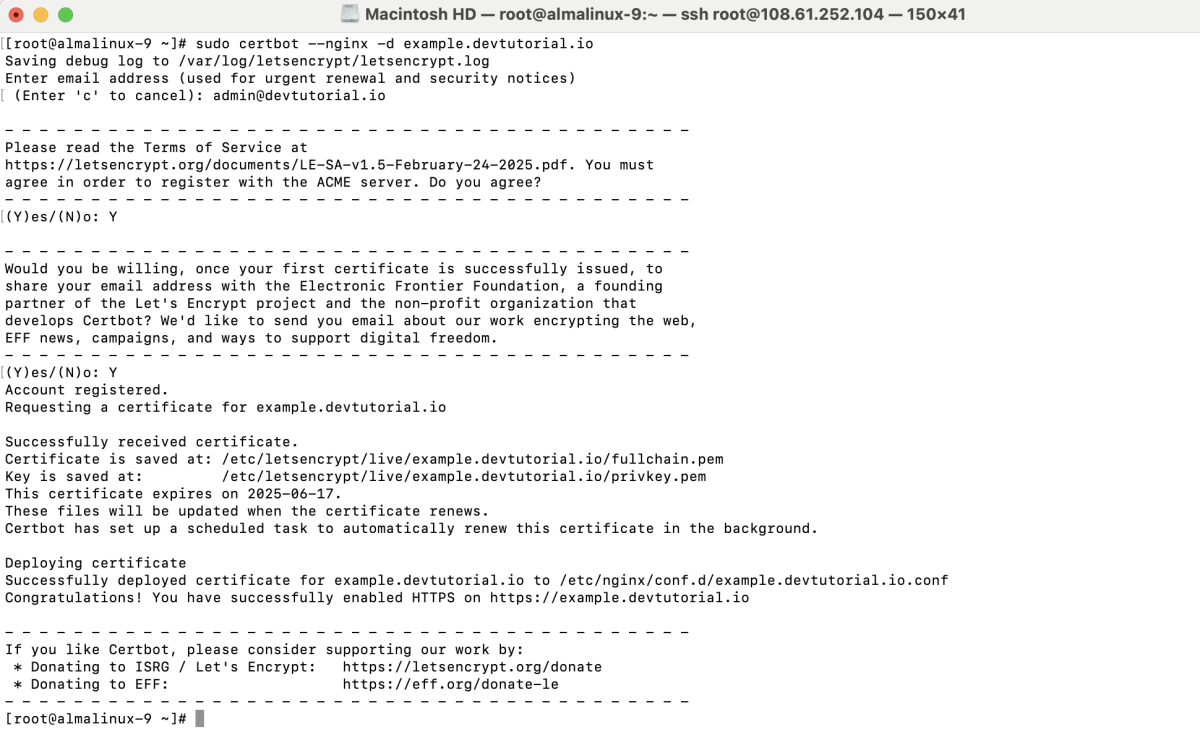
Step 9 : Obtain SSL Certificate
Run Certbot to obtain and install the SSL certificate:
Follow the prompts:
- Enter your email address

- Agree to the terms of service (y)

- Choose whether to share your email (y or n)
Once the process completes, you should see a success message indicating that SSL has been installed.
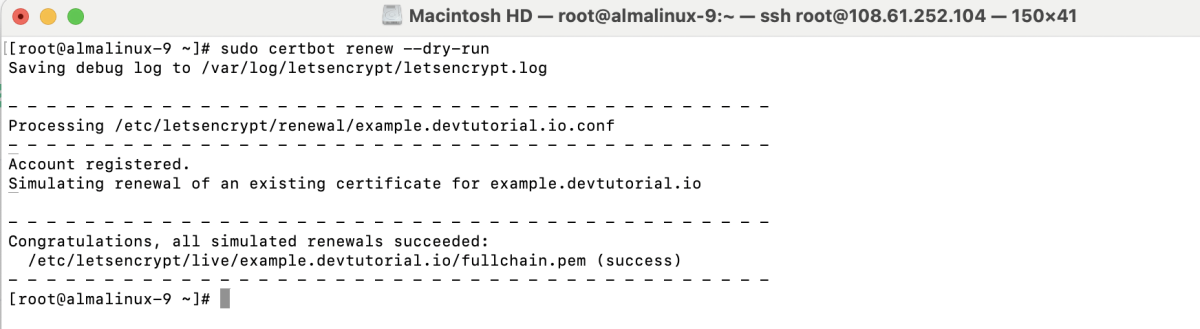
Step 10 : Test SSL Renewal
To check if auto-renewal is working, run:
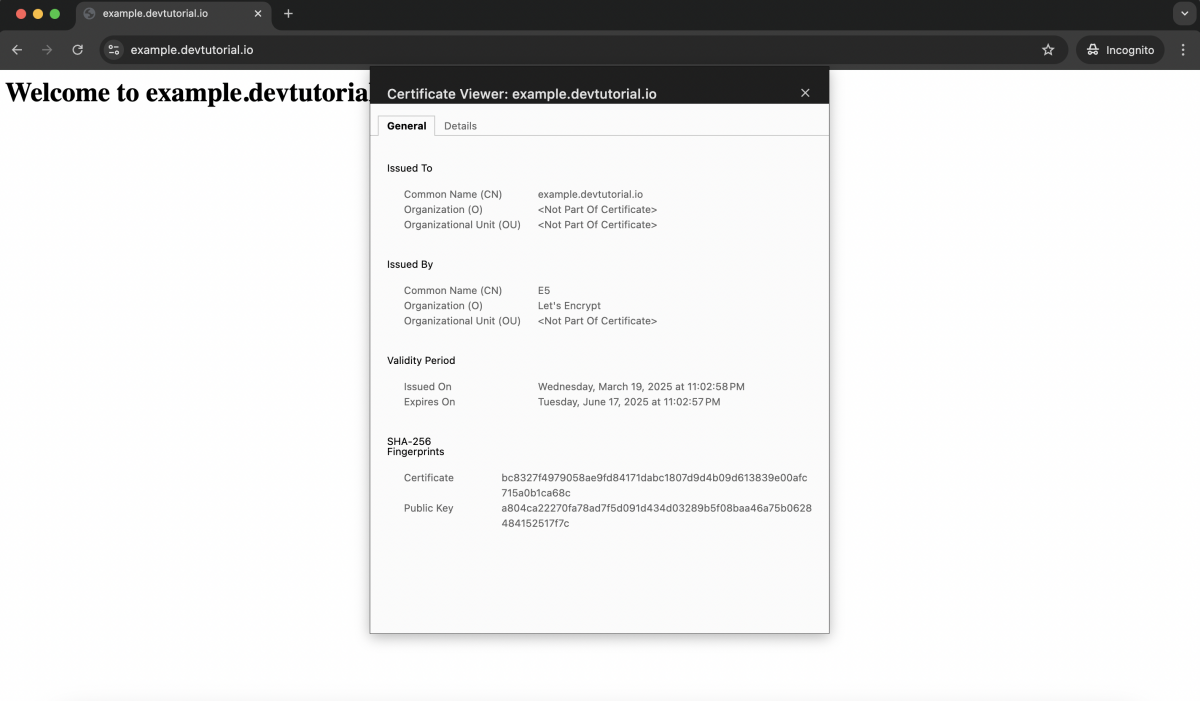
Step 11 : Verify the Installation
Open your browser and visit https://example.devtutorial.io to check if the SSL certificate is properly installed.
Congratulations! You have successfully installed Let's Encrypt SSL on AlmaLinux 9 with Nginx.