To create a swap file on Ubuntu 24.10, follow the steps below. Swap files act as virtual memory, helping the system run smoothly when RAM is fully utilized.
Step 1 : Check Memory Usage
Run the following command to check current memory usage:

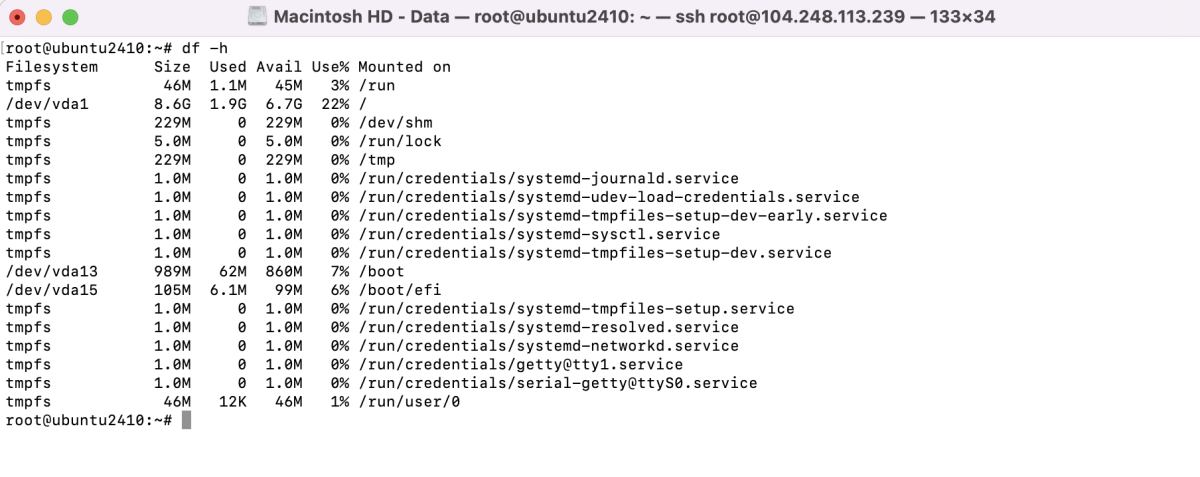
Step 2 : Check Disk Space
Ensure there is enough disk space to create the swap file by checking available space:
Step 3 : Create the Swap File
Use the fallocate command to create a 2GB swap file. You can adjust the size as needed:

Step 4 : Set Correct Permissions
Set the permissions to ensure only the root user can access the swap file:

Step 5 : Format the Swap File
Use the following command to format the swap file:

Step 6 : Enable the Swap File
Activate the swap file with this command:

Step 7 : Verify the Swap File
Confirm the swap file is active:

Step 8 : Make the Swap File Permanent
To ensure the swap file is enabled after every reboot, edit the /etc/fstab file and add the following line:

Congratulations! You have successfully created a swap file on Ubuntu 24.10.