To install and configure Postfix on Ubuntu 23.10, follow these steps:
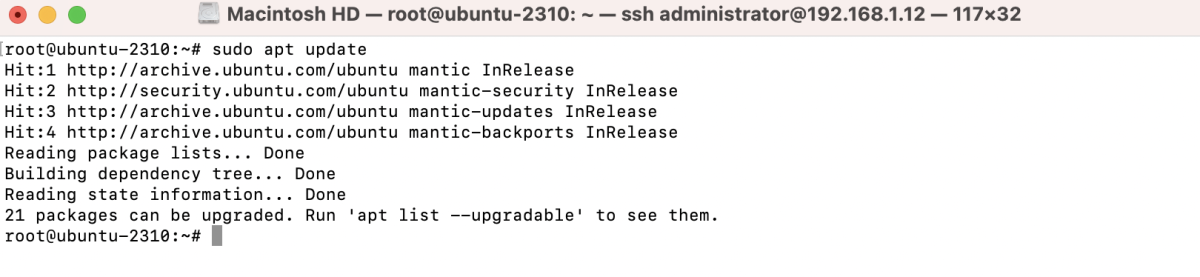
Step 1 : To install Postfix, start by updating your system:
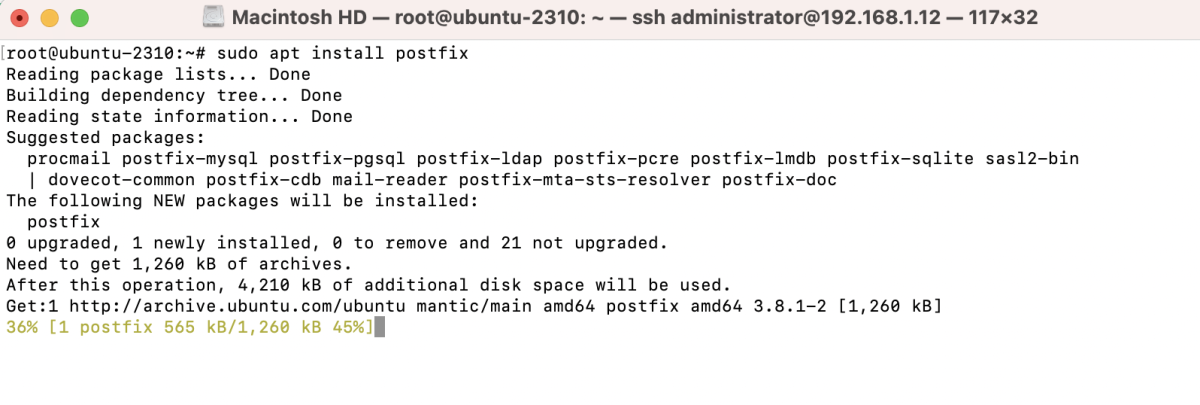
Step 2 : Install Postfix with the following command.
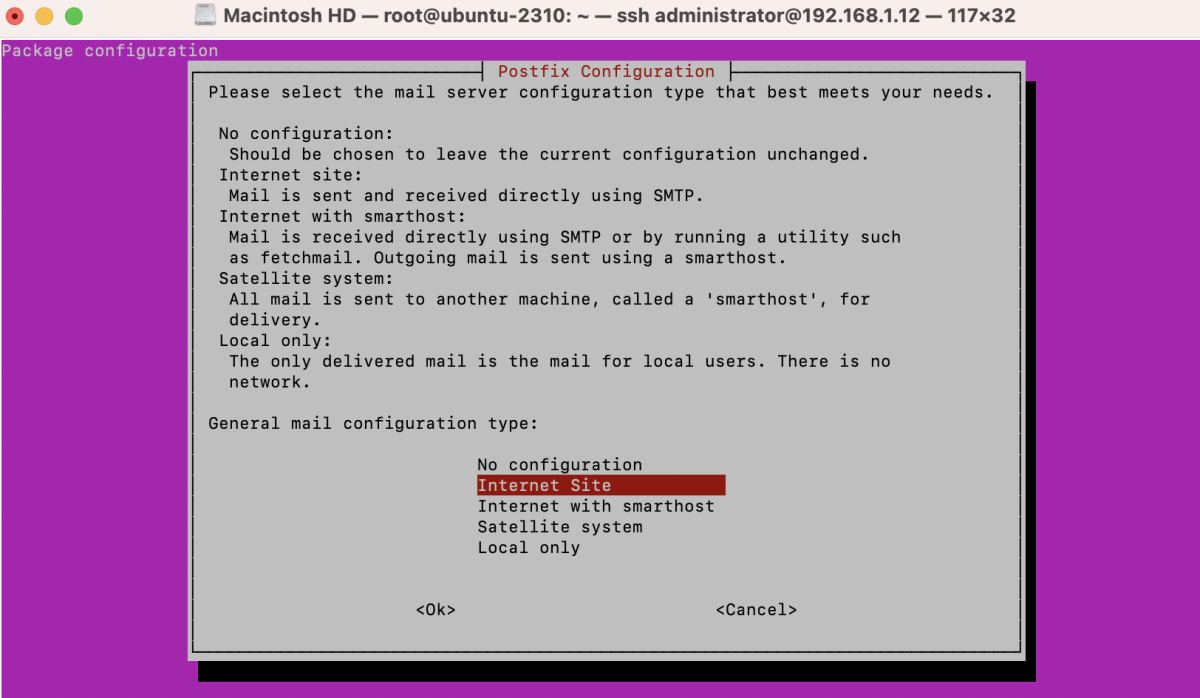
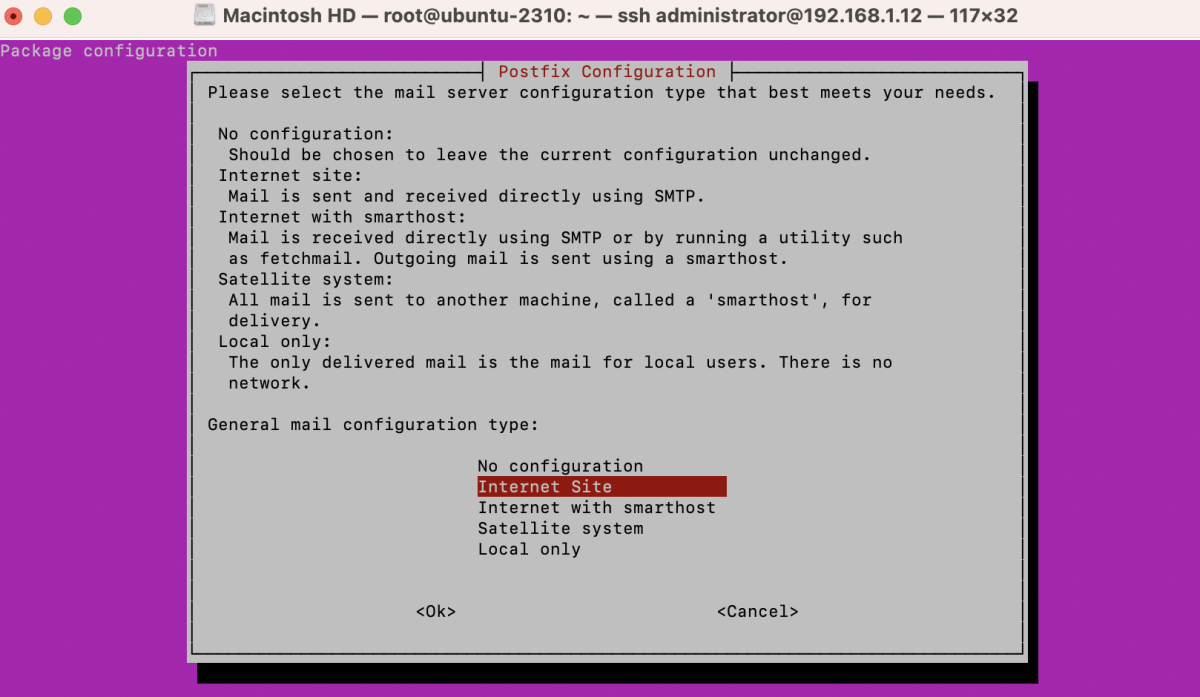
- General mail configuration type: Choose "Internet Site" and press Enter.
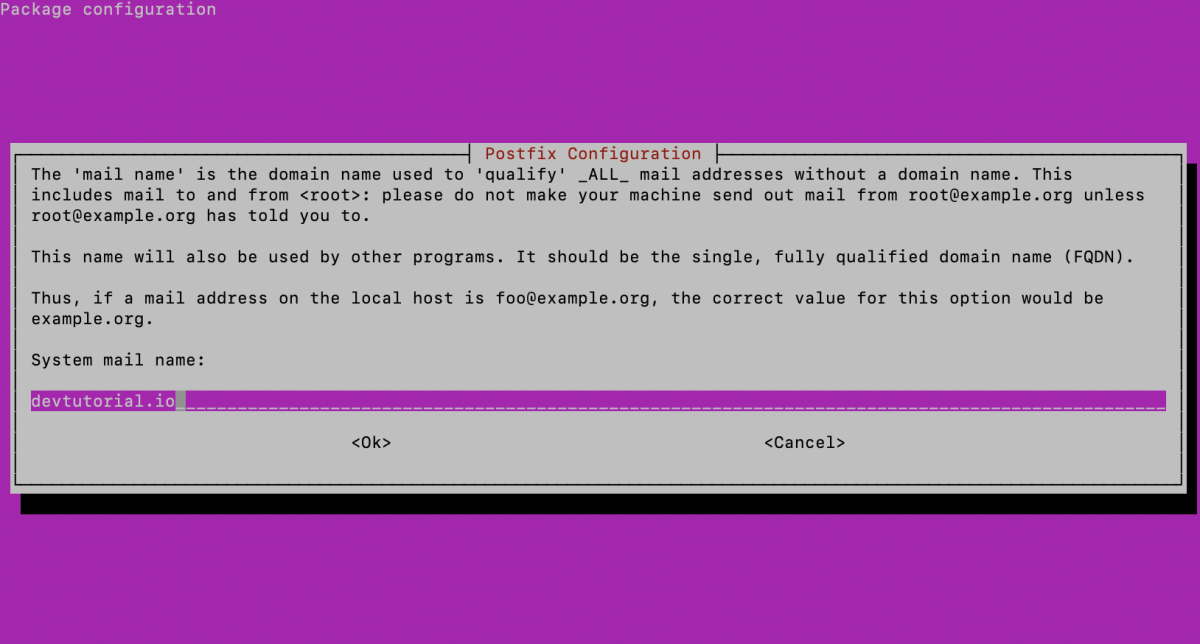
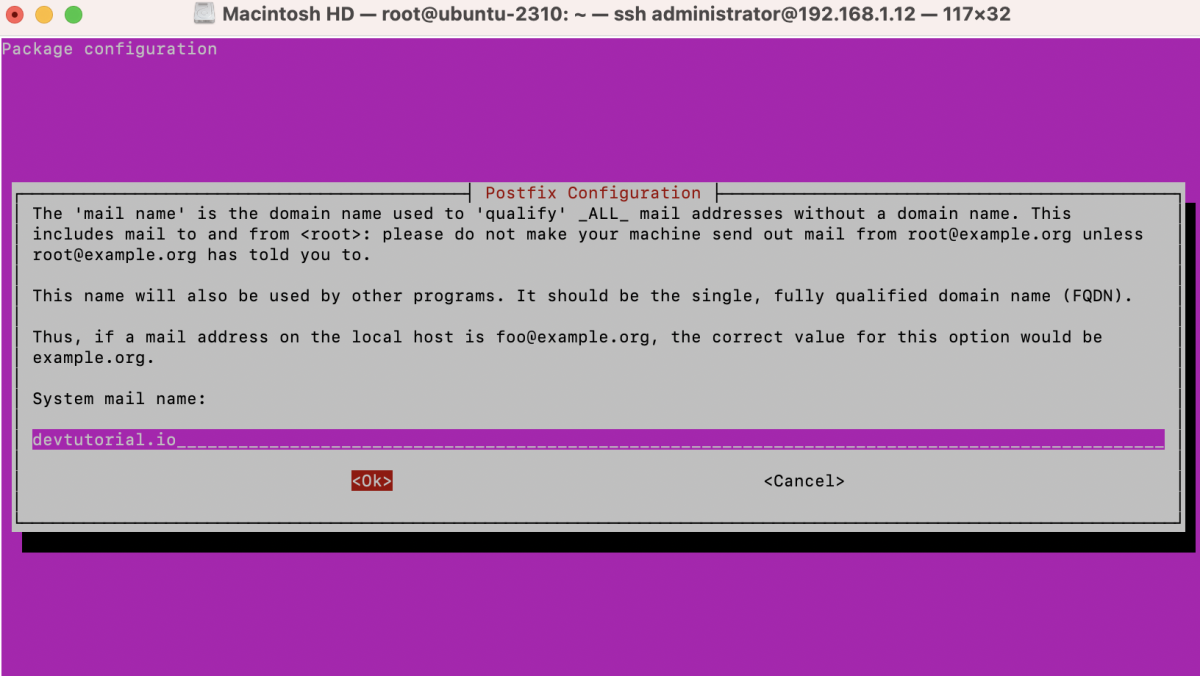
- System mail name: Enter your system's fully qualified domain name (FQDN).
Step 3 : Configure Postfix:
After installing Postfix, you need to configure it. The following steps will guide you through the configuration process:
- Run the configuration tool:
- Choose "Internet Site" when prompted and press Enter.
- Enter your system's fully qualified domain name (FQDN) when prompted.
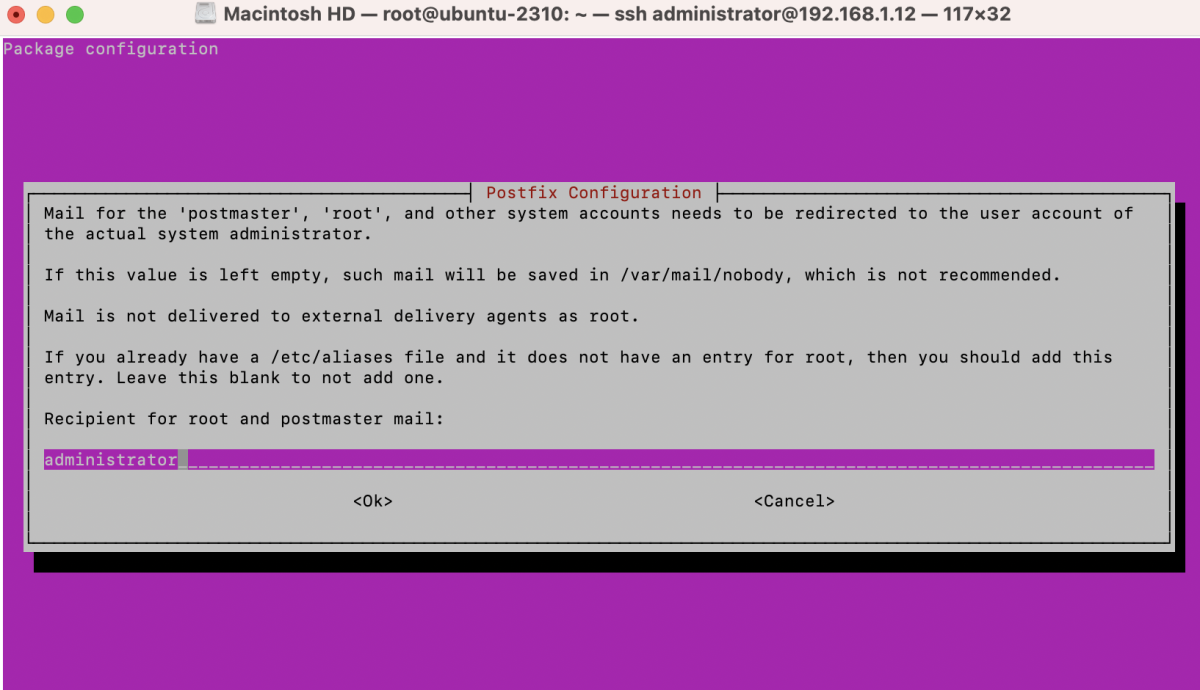
- Recipient for root and postmaster mail: Enter the email address (e.g., root and postmaster).
- Other destinations to accept mail for (blank for none): $myhostname, example.com, mail.example.com, localhost.example.com, localhost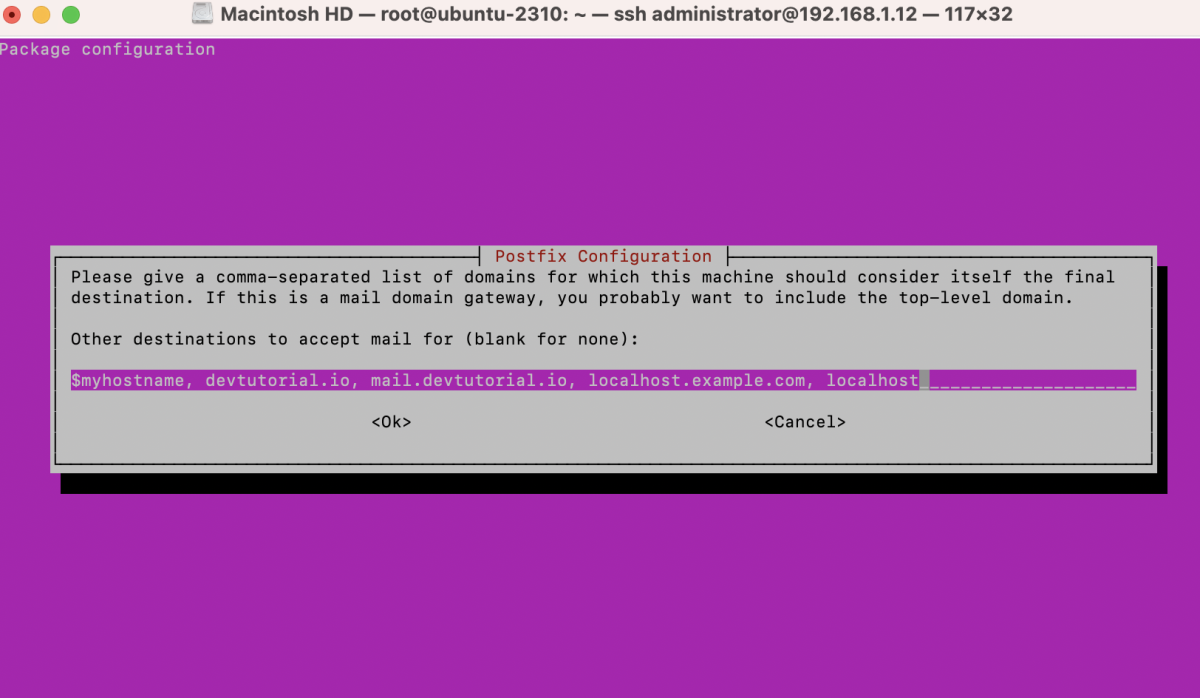
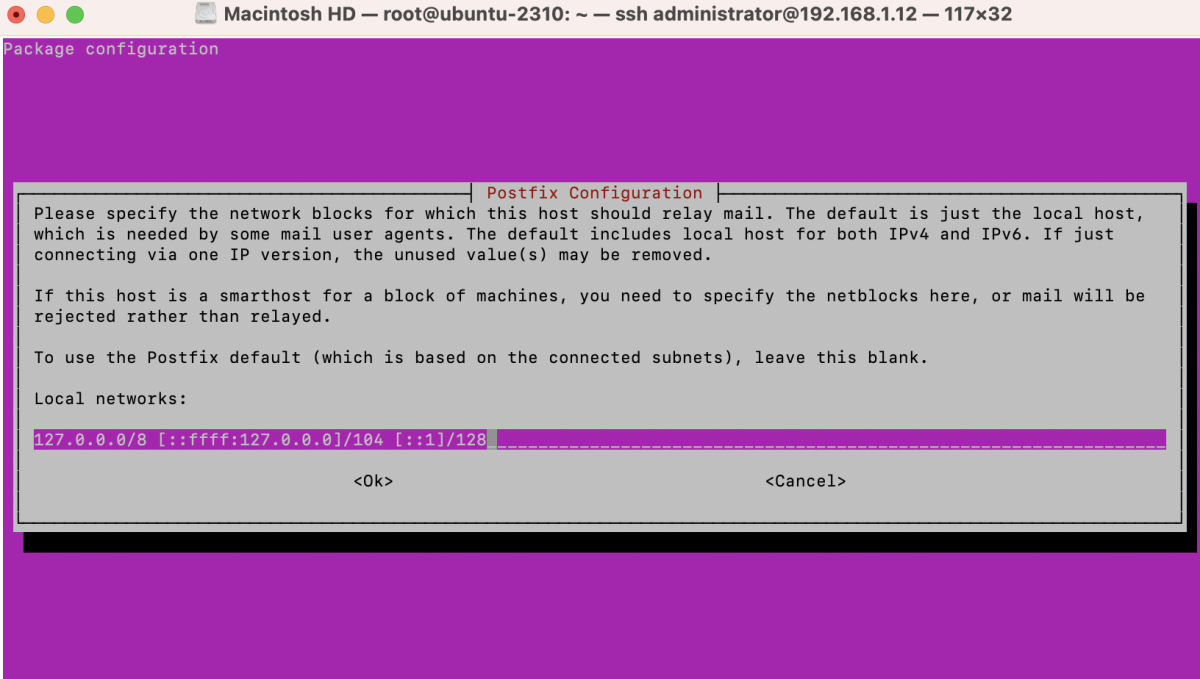
- Local networks: Specify the networks that are allowed to use your mail server.
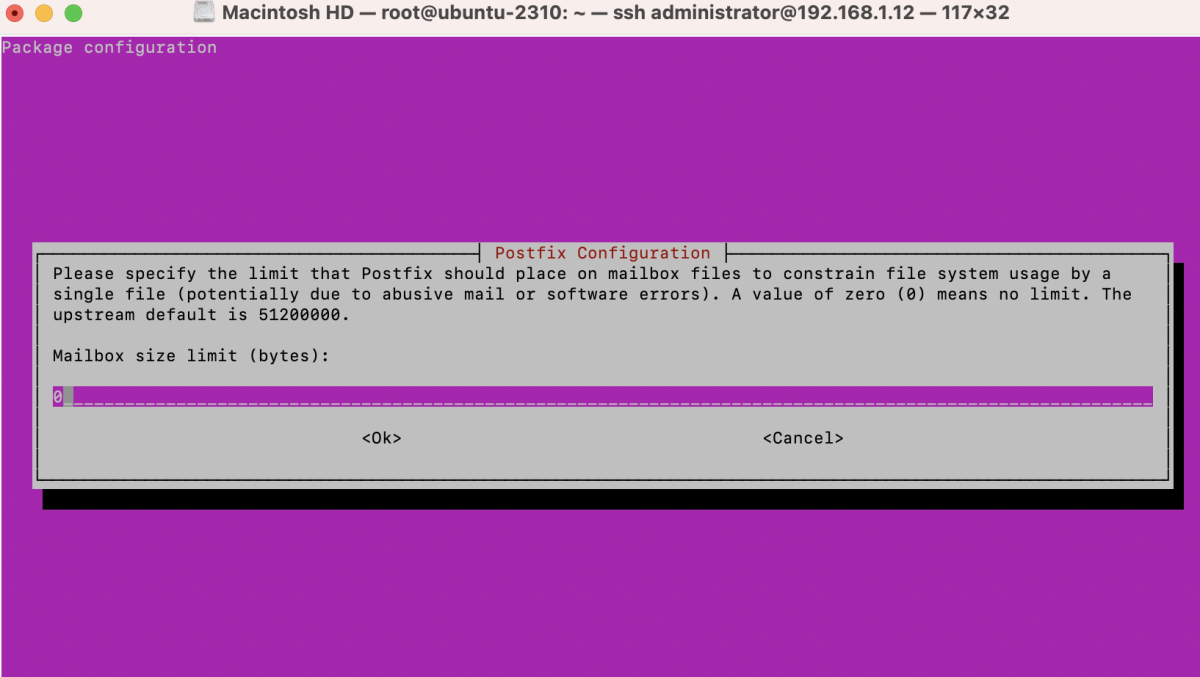
- Mailbox size limit (bytes): Enter the size limit for mailboxes in bytes. The default (0 for unlimited) is usually fine.
- Local address extension character : (+)

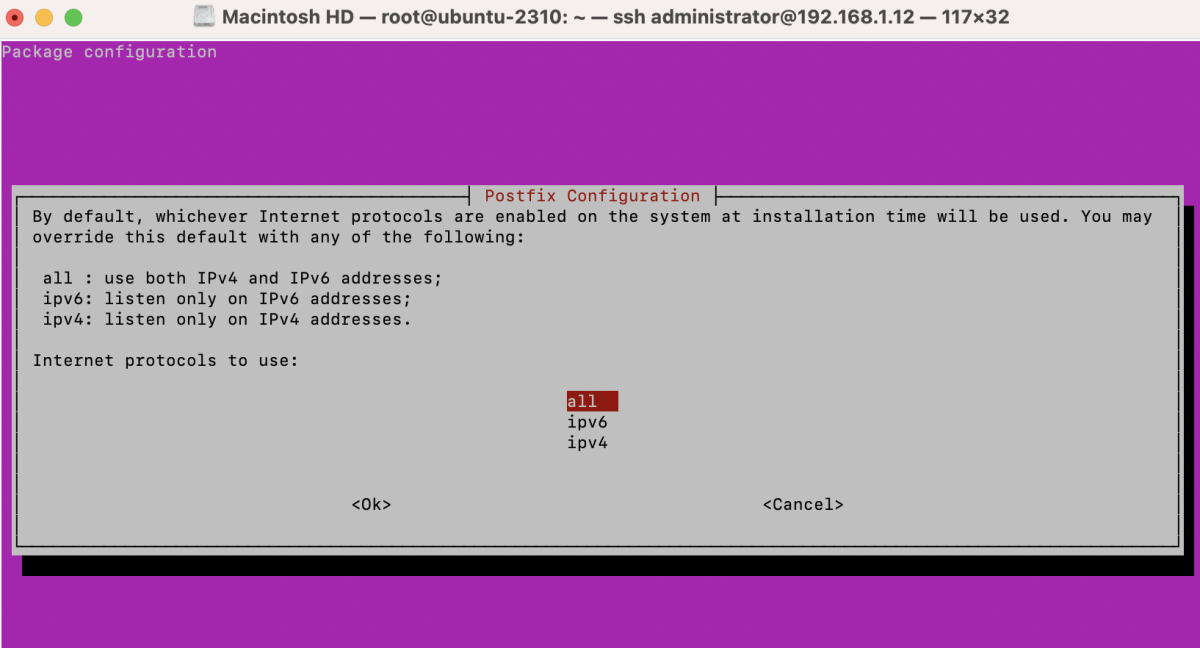
- Internet protocols to use: all.
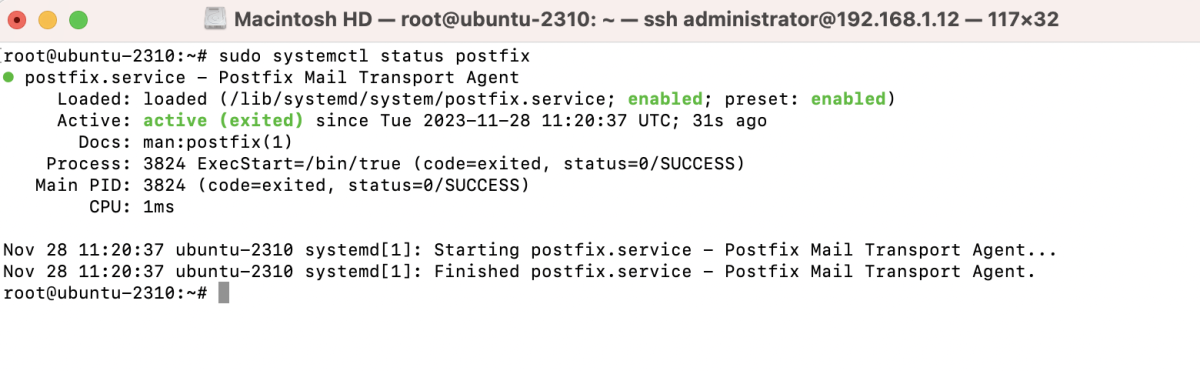
Step 4 : Verify the Postfix status:
Step 5 : Test Postfix by sending an email.
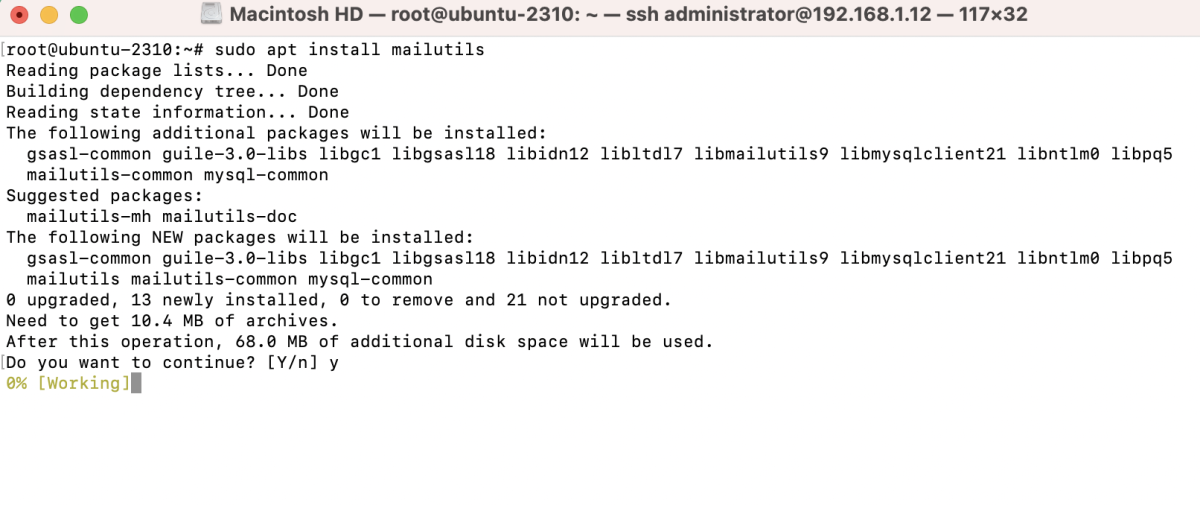
- First, install mailutils:
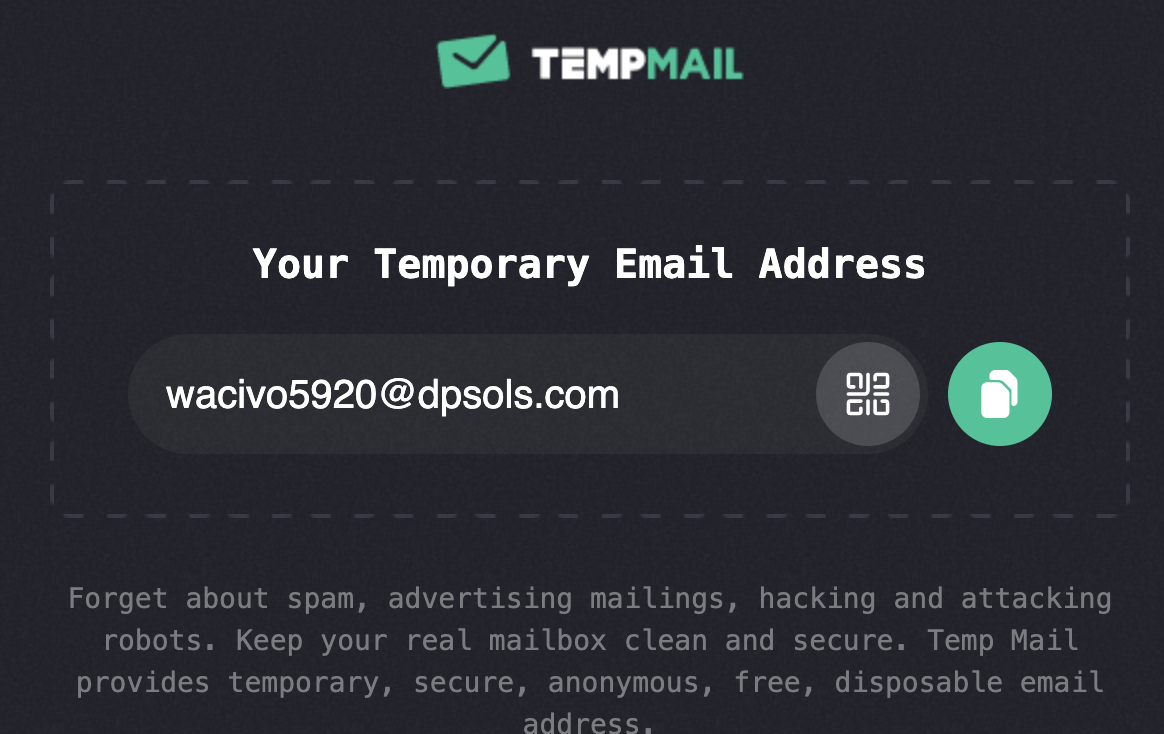
- Then, use a temporary mail service like temp-mail.org to:
- Open a temporary email page.
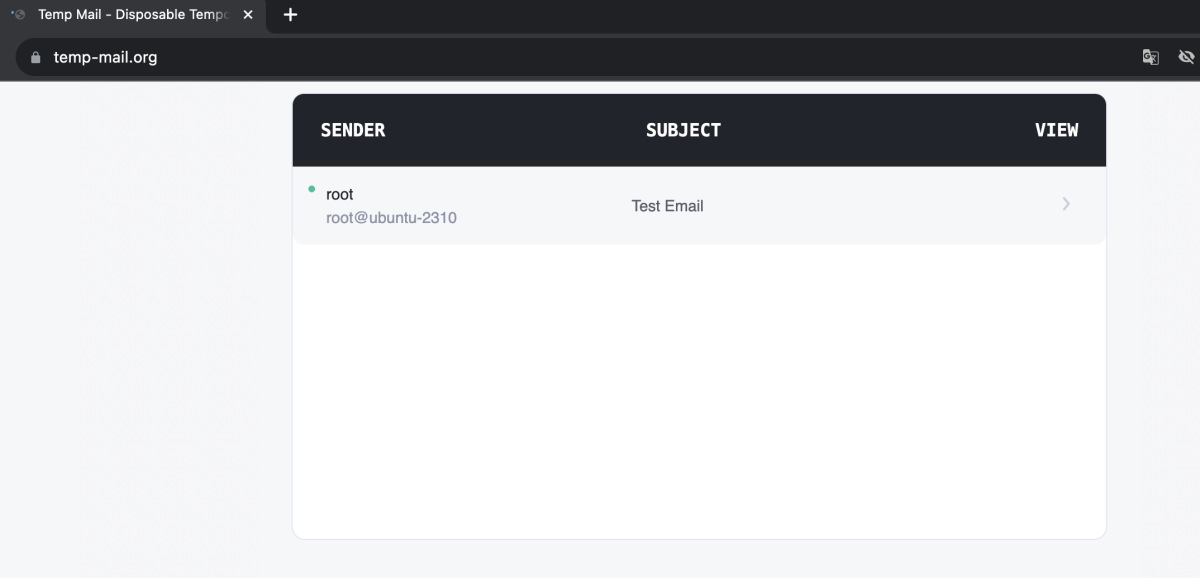
- Send an email to the temporary email address.

- Check the temporary email page for the received email.
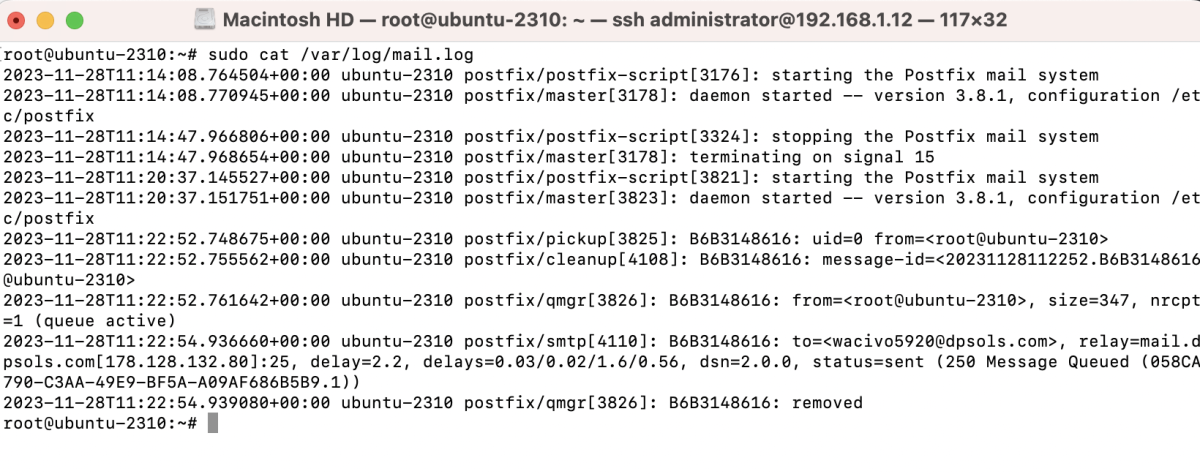
Step 6 : Check the mail log for any issues:
Congratulations! You have successfully installed and configured Postfix on Ubuntu 23.10, and tested its functionality.